When I first bought the WK2.II Jeep, I had hoped that there would be a place I could easily put a full-time second battery for use while camping or out bush. It took me longer than I care to admit to find the main battery in the WK2, which is positioned under the right front (driver in Aus) seat.


Unfortunately, since I bought the Overland model with air suspension, vented seats, etc. the symmetrical location under the left front seat was taken up by circuit card assemblies (CCAs), and there is no room under the bonnet. Due to the spare tire position within the cabin in the rear there was also no room for a battery in the rear without modification, which I didn't really want to do to preserve resale value.
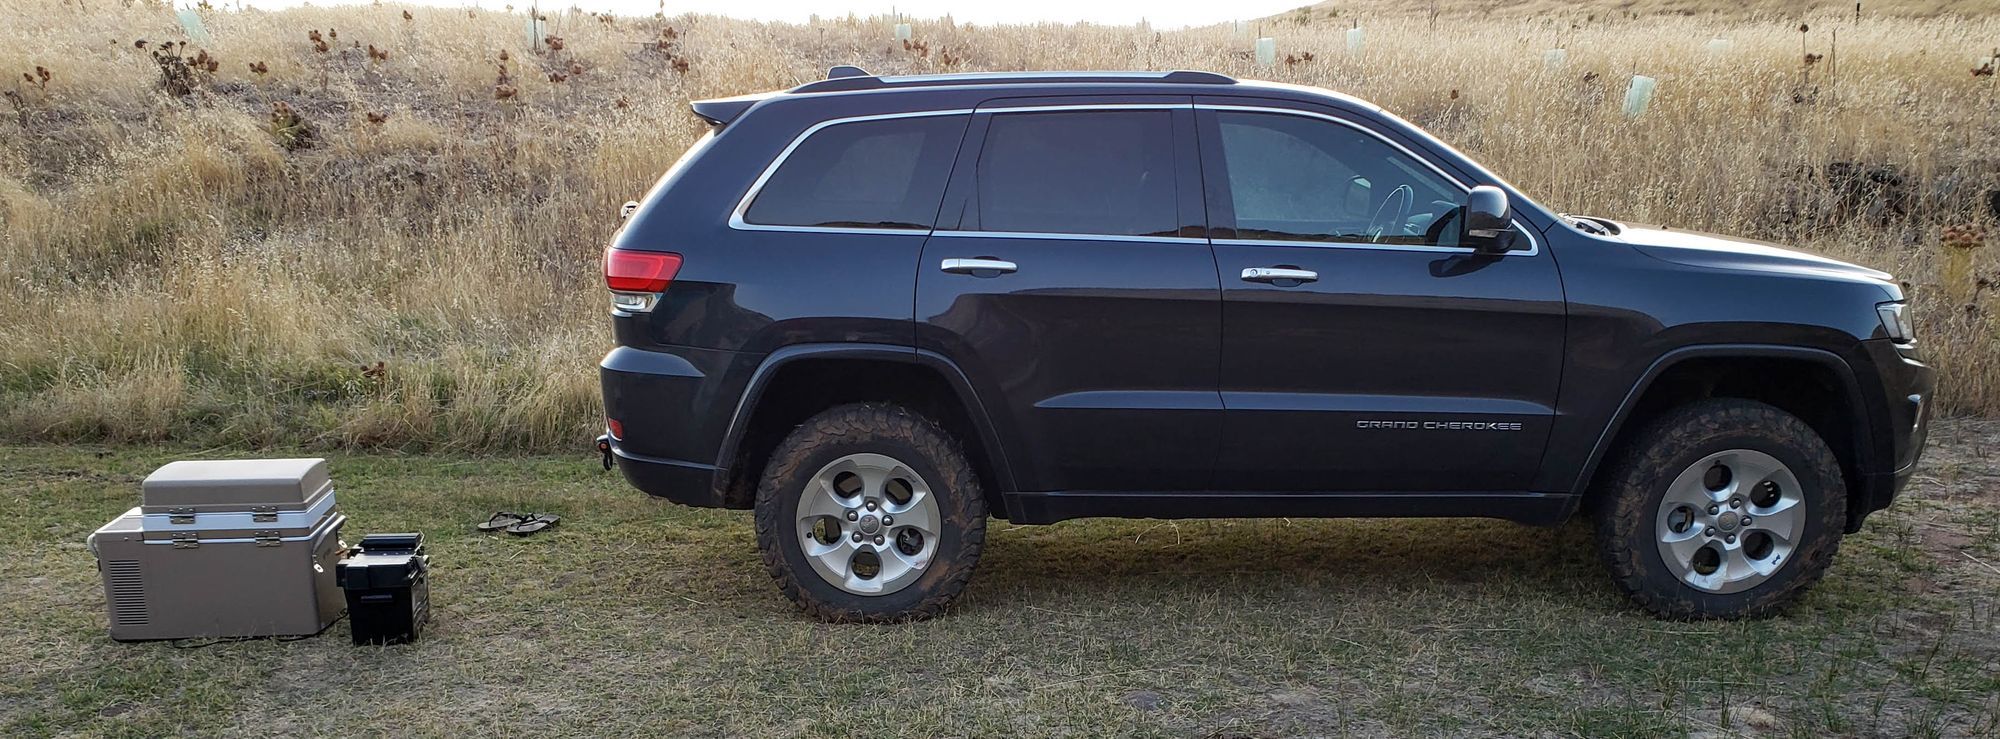
This left me in a bit of a bind as to where a second battery would fit. I ended up deciding to buy a battery box and a DC-DC converter connected to the main battery for isolation and ability to charge off the Jeep smart alternator (not consistent output like older vehicles, the voltage jumps all around and upsets chargers not equipped for smart alternators). This setup lets me leave the spare battery (and 12V fridge which I will get to) at home when I don't need them.

Due to not being able to install drawers and similar items in the back of the Jeep due to the spare and required mods, I decided that everything would be removable. The fridge and battery can be removed, and left with the solar blanket at a camp site within our tent while we are out for the day.

This lets me retain an effectively stock setup on the Jeep during the week and can really load things up for a trip out bush. I haven't ran the numbers but I expect a small fuel efficiency gain (or lack of loss) due to this setup.

The removable setup has worked very well for the last few months with no signs of slowing down. There is plenty of power in the 120Ah battery to run the fridge all day, lights at night, and power a laptop to watch a movie or two in the evening.
As for which battery box and DC-DC converter I went with, that is another story. I am living in South Australia, which reduces the places I can source thing from economically. I ended up buying a KickAss battery box with a 120Ah 12V Lead acid battery (not LiFe or something newer/more exotic since I am unsure of whether or not the item can be easily shipped back to the US with my pending eventual repatriation).
Before I bought the battery box and battery I already had a REDARC DC-DC converter on order, ironically from the US because it was 1/4 cheaper than in SA where it was manufactured. If I was to do it again, I would go for one of the built up battery boxes at Homeof12Volt (in Mount Barker near Adelaide) with their DC-DC converter and not fuss with doing all the wiring myself.

Once I put the wiring to the main battery and snaked it behind the rear seats, I also was able to grab a 12V accessory line from the flashlight charger to inform the REDARC the engine is on. I used an XT60 connector I had lying around from my drone hobby, any connector will do for the alternator it is only a signal wire.

I initially wired up the solar connector (Andersen with yellow positive wire in picture above) to use a keyed blue Andersen, but it caused me lots of annoyances with making extensions to have two different types.
I would still recommend a keyed alternator input, I use red. This has been working very well to reduce confusion and not plug the alternator input to the wrong REDARC input cable. I'd rather not test plugging the alternator directly into the battery or REDARC solar inputs. The main battery wire I used I put an inline 50A fuse which gives some confidence that the system will be safe, otherwise the wire is going straight to the main battery with no safeties.
For better or for worse I either lost or had my solar panel and Andersen extension setup stolen, so I had a chance to do it better than the first time. I replaced the blue Andersen with a normal unkeyed grey one and built several different extenders and adapters.
Here is a quick run down of how I would make Andersen connectors:
- If the wires are <8mm (the normal diameter for 50A Andersen) strip them further than you think and double them back to increase contact area for crimping
- Align the lip of the connector that catches within the plug (Pic 3)
- Crimp both of the connectors. I'd had minor success with a Leatherman but I would recommend a real crimper
- Insert both new conductive ends into the connector, angling them down during insertion to reduce force necessary. A screwdriver from the cable end or pliers from the connector end could ease the job.
- I use hot glue to provide stress relief for the crimped connectors and a modicum of waterproofing. Pic shown is after one go with a glue gun, this set will get another. If I really wanted to make the cable nice I would use silicon or something else that would be more heat and water resistant


